Concepts
Pricing Tables
Usage
Updating your pricing should be as easy as flipping a switch. Spackle allows you to create headless pricing tables from your Stripe products and Spackle features.
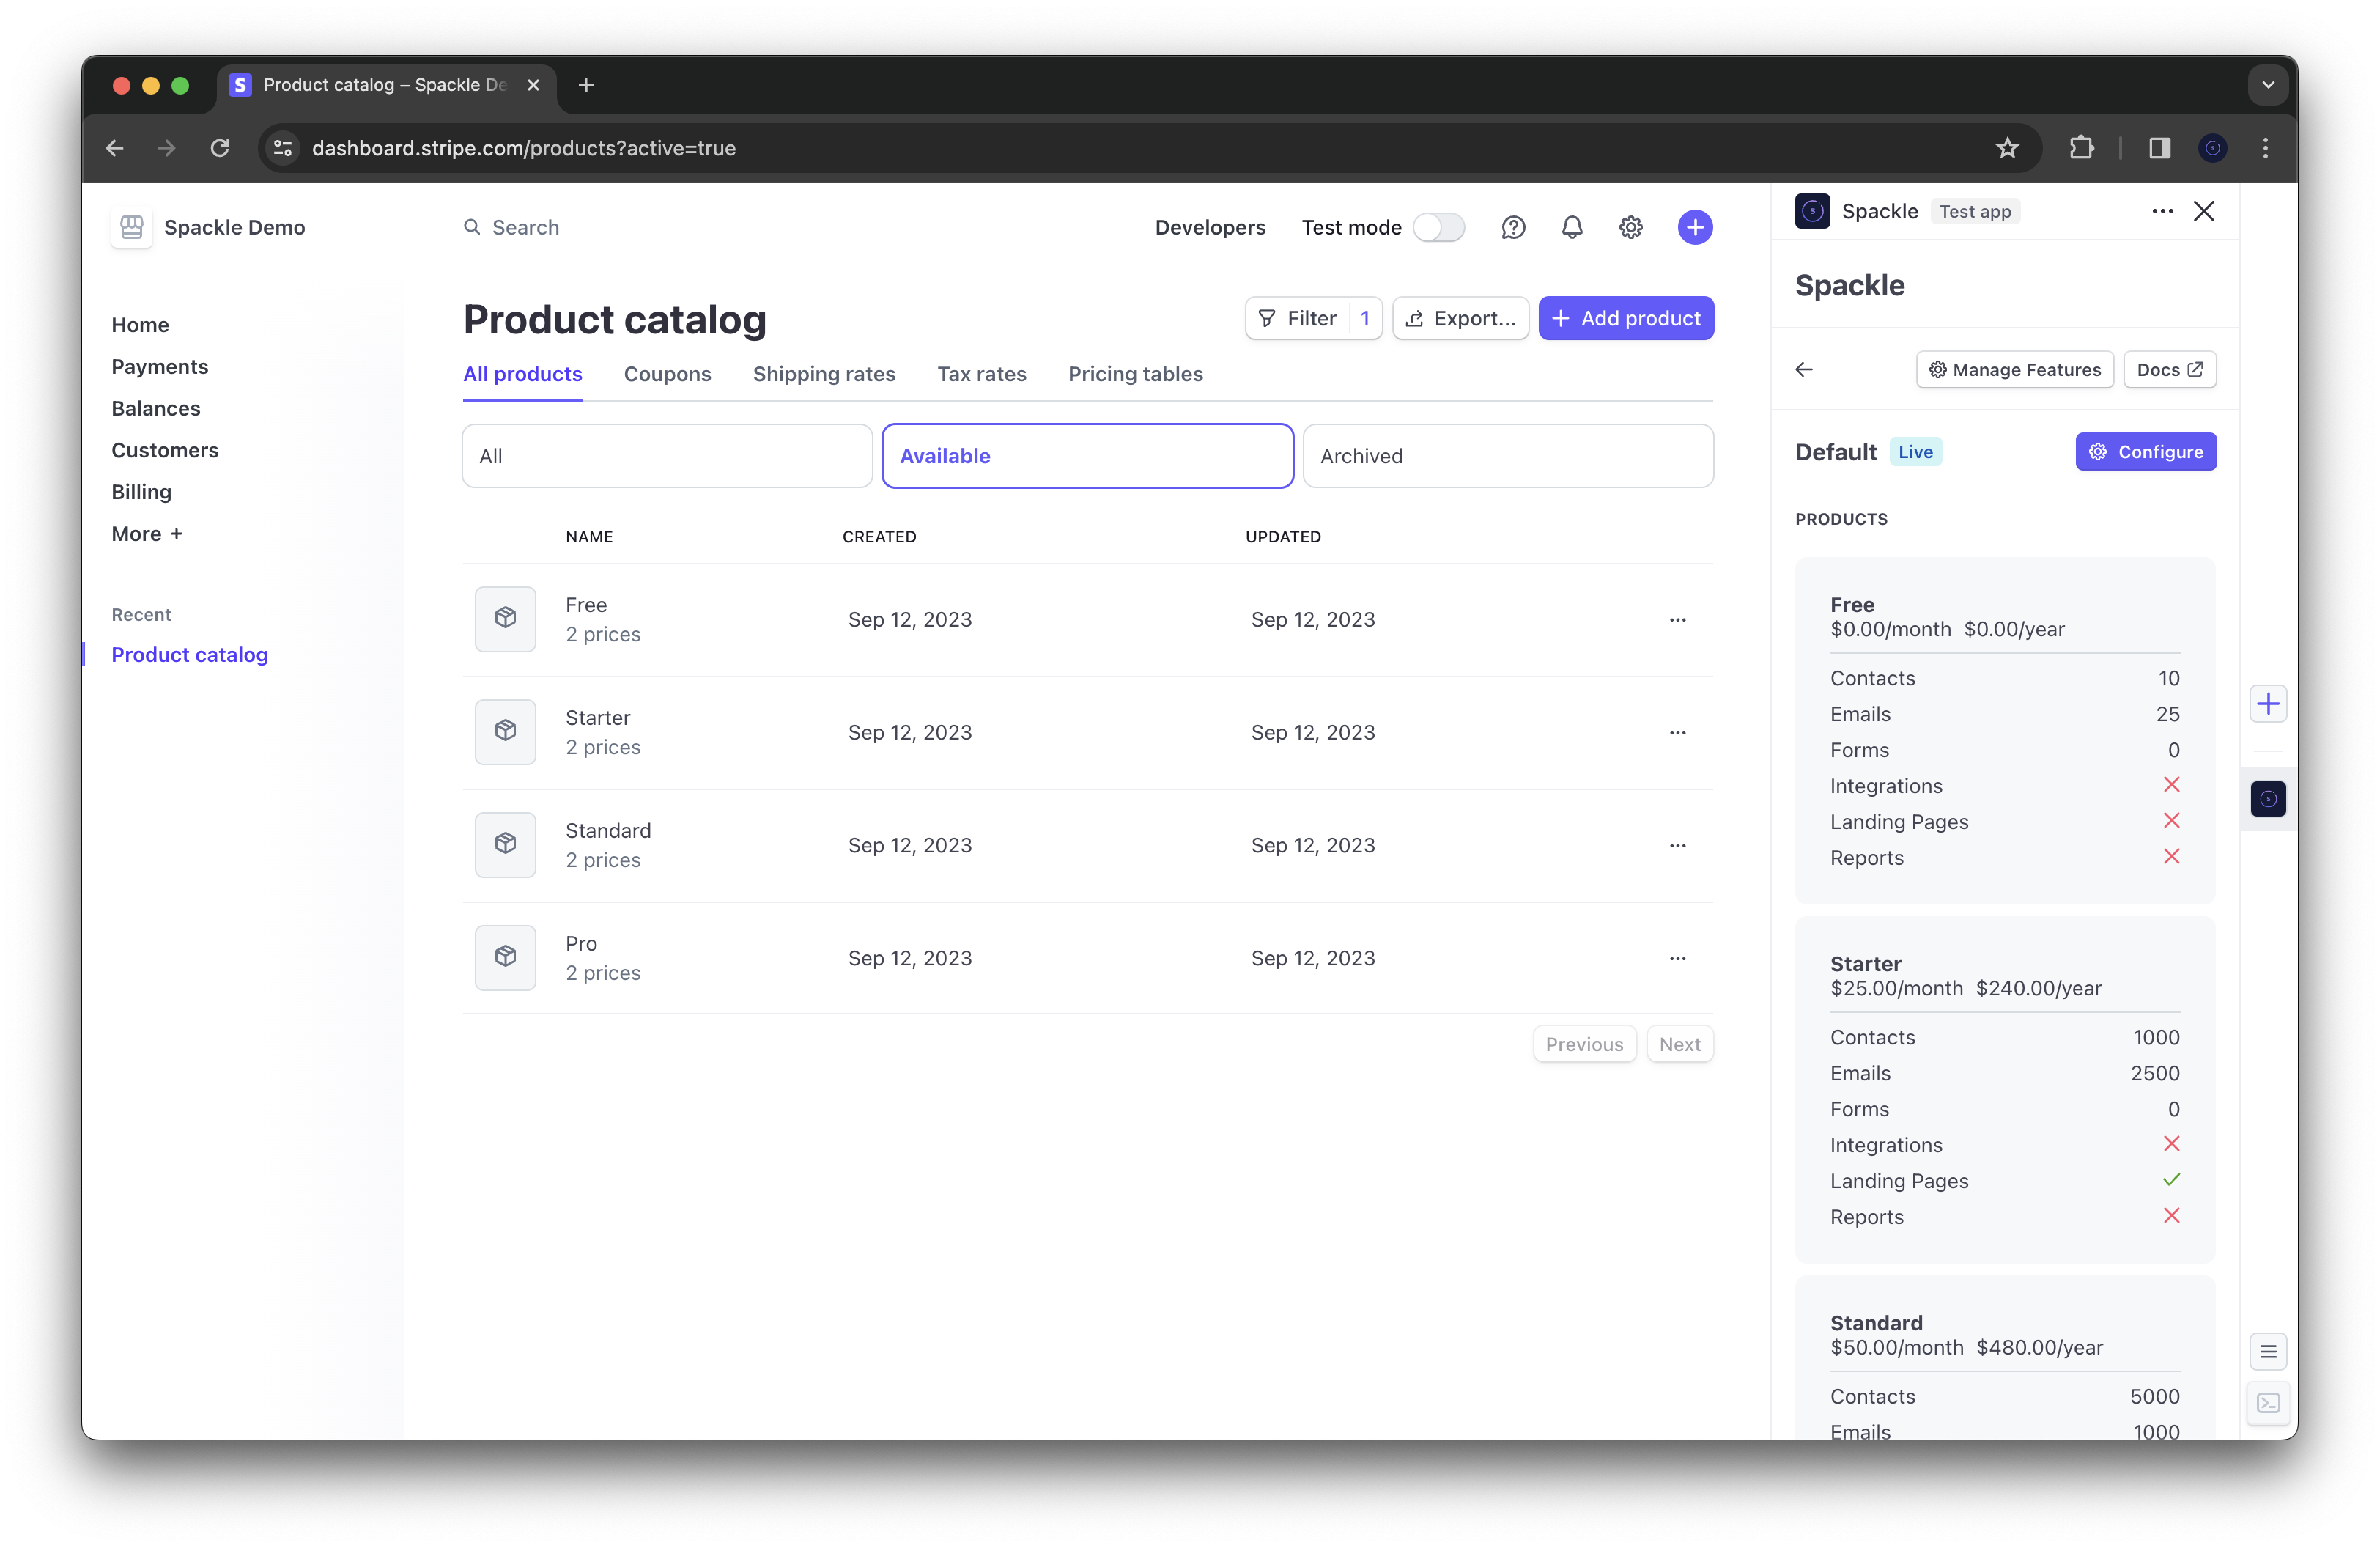
Configure your pricing table
In the "Pricing Table" section of Spackle, click the "Configure" button.
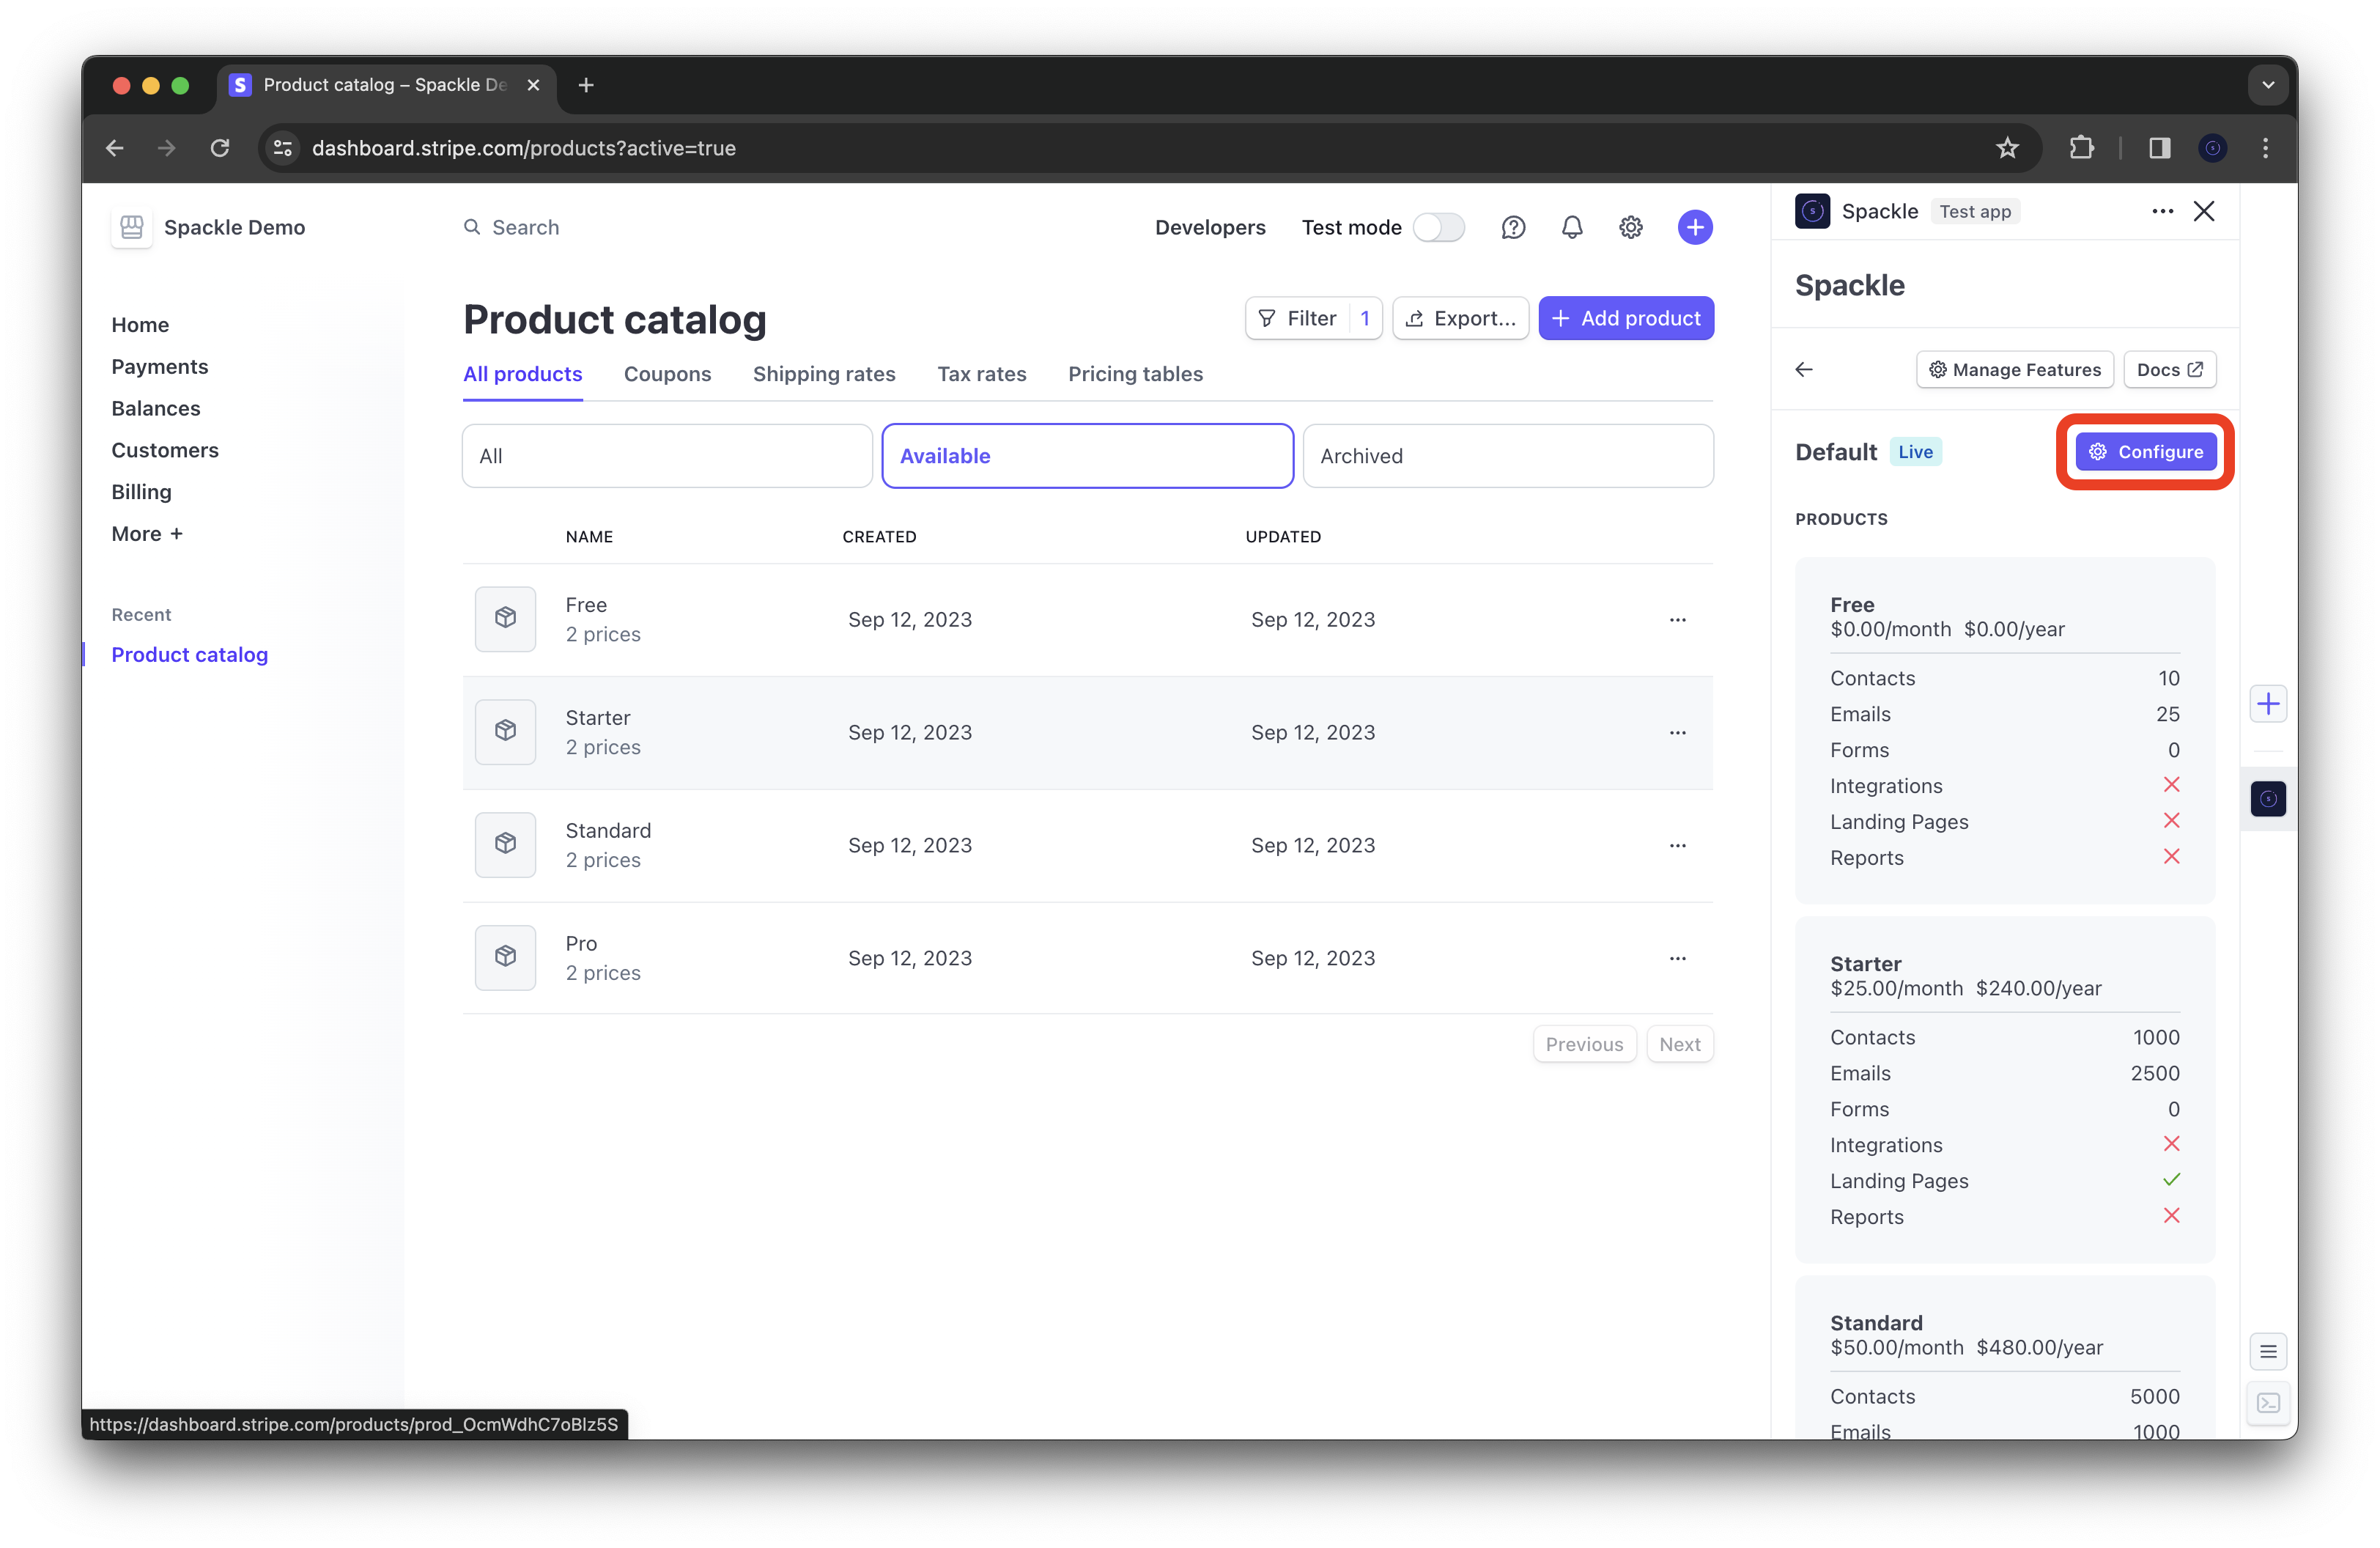
Set billing intervals
Then enable the billing intervals you would like to support. Currently, Spackle supports monthly and annual billing intervals.
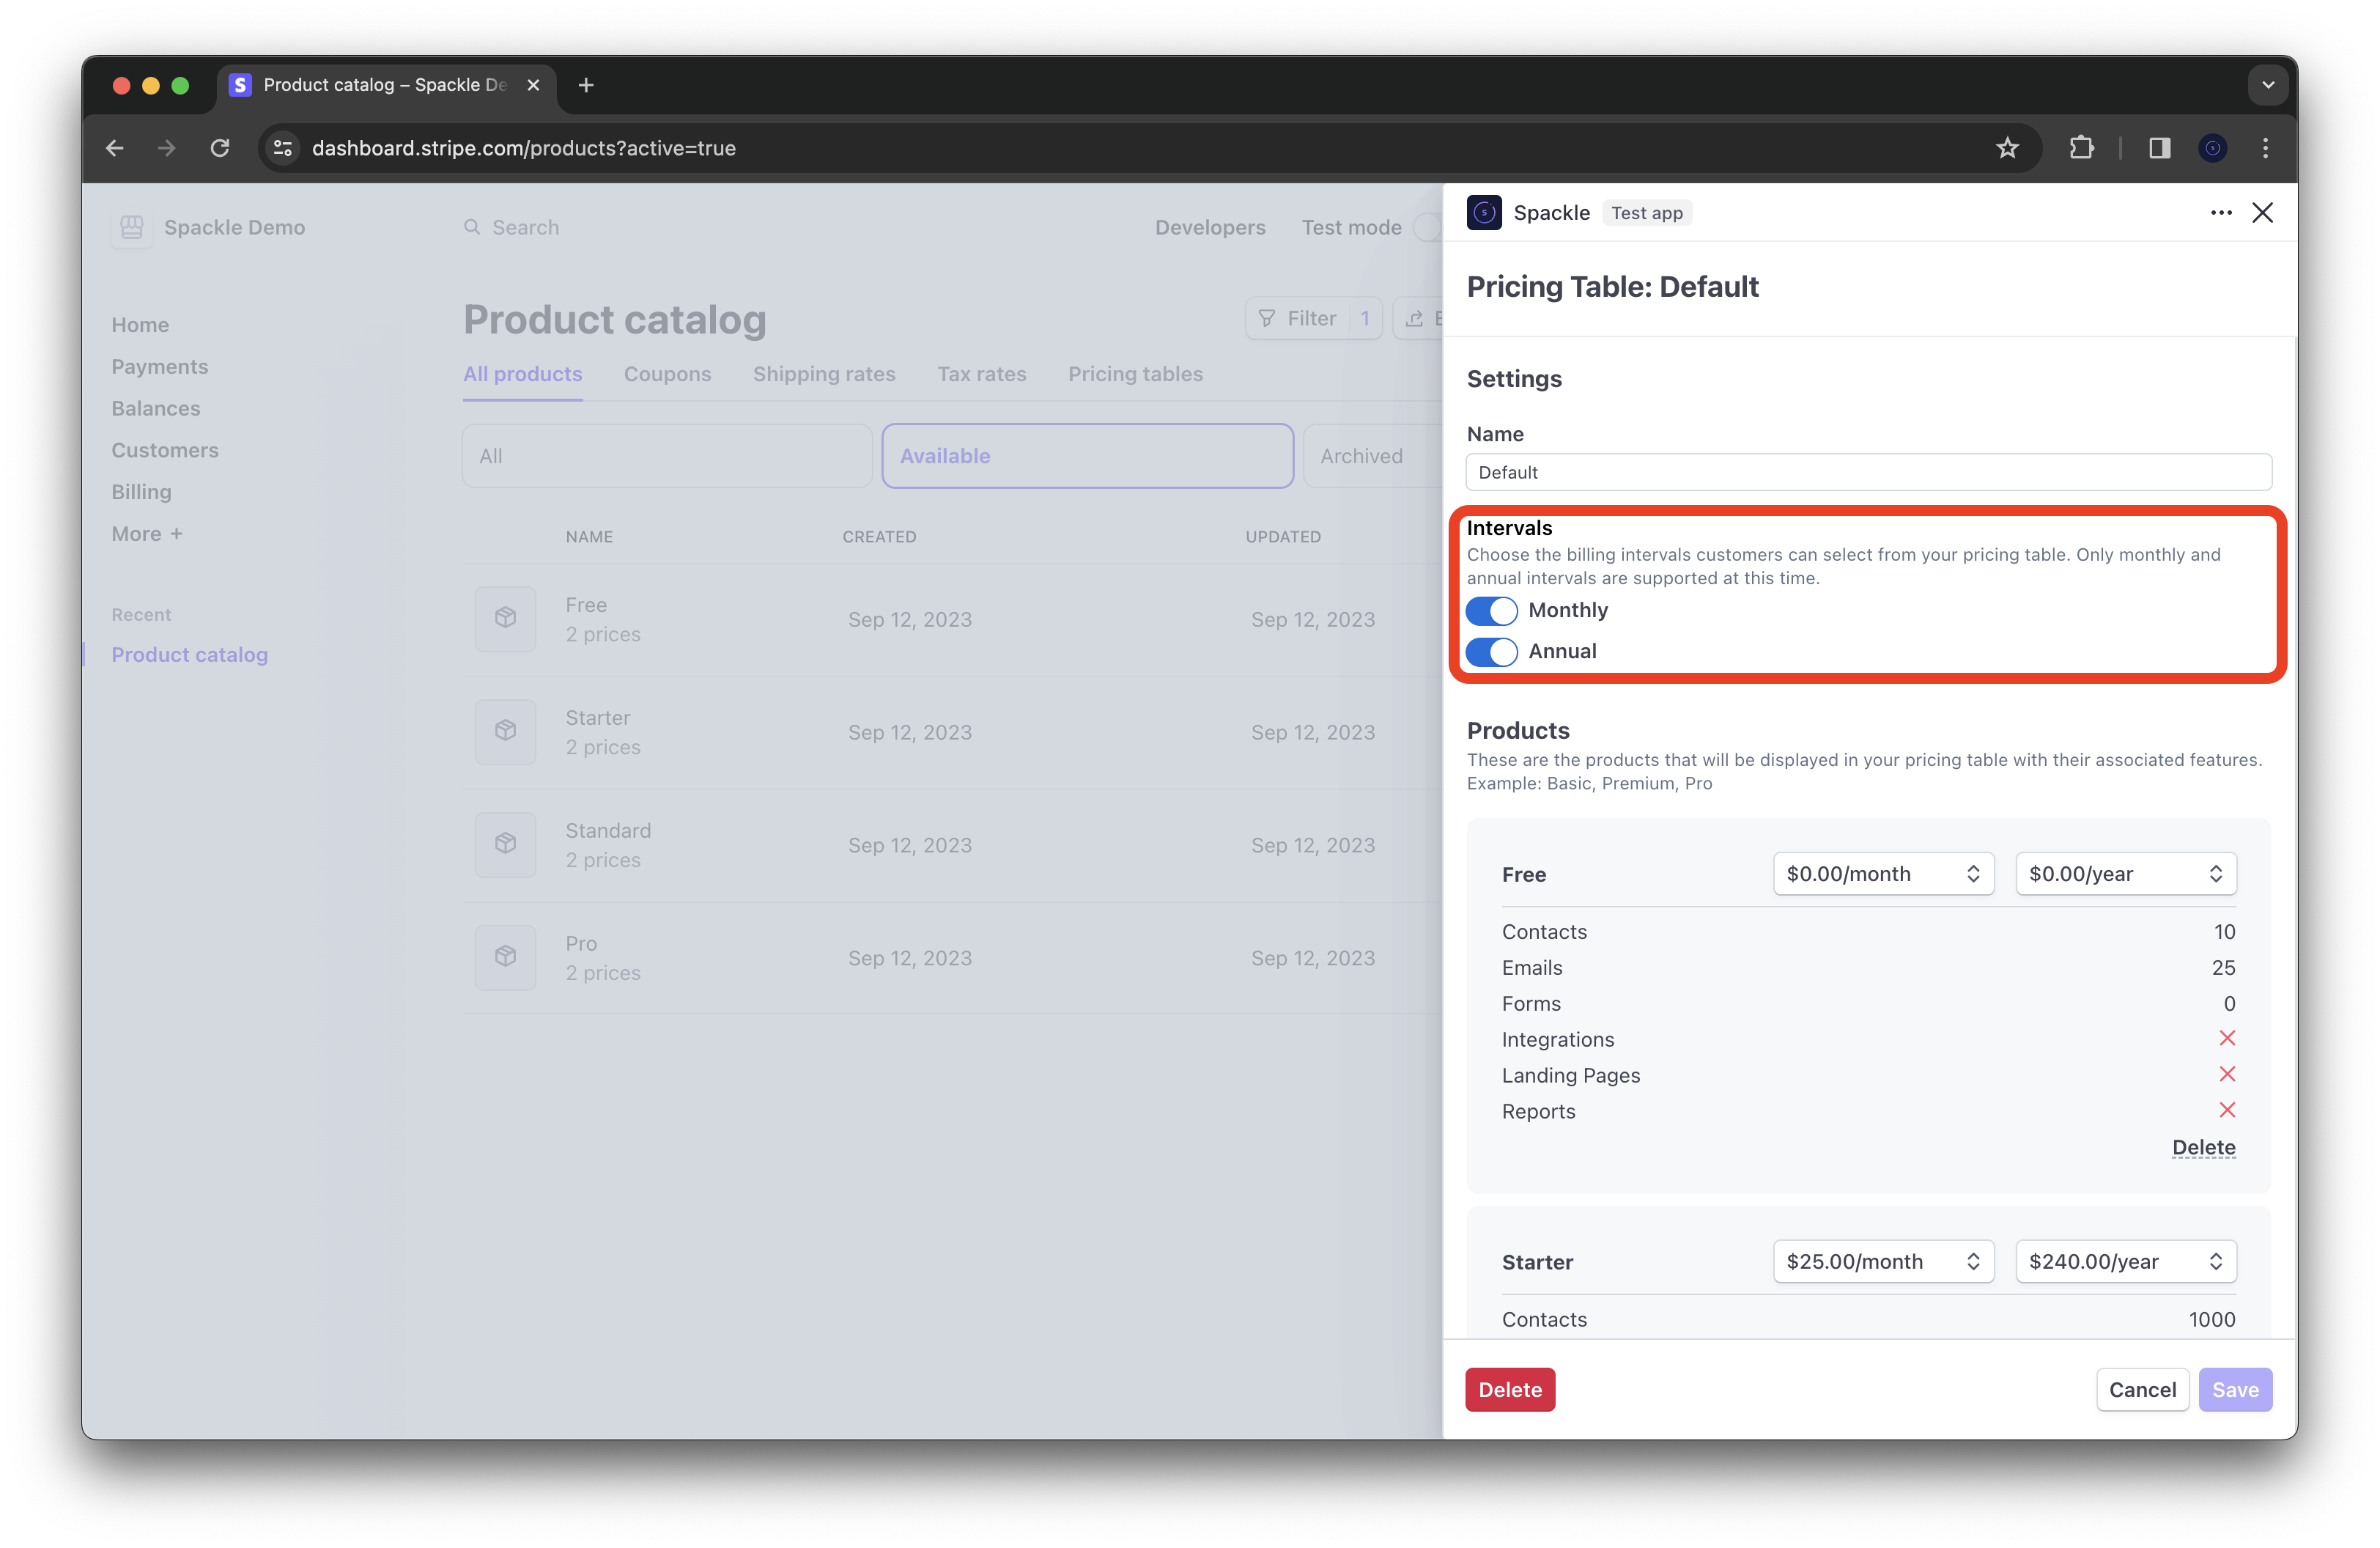
Add products
You can add any number of supported products to your pricing table. For example, if you offer a "Basic" and "Pro" product, you can add both to your pricing table and select the pricing for each supported billing interval.
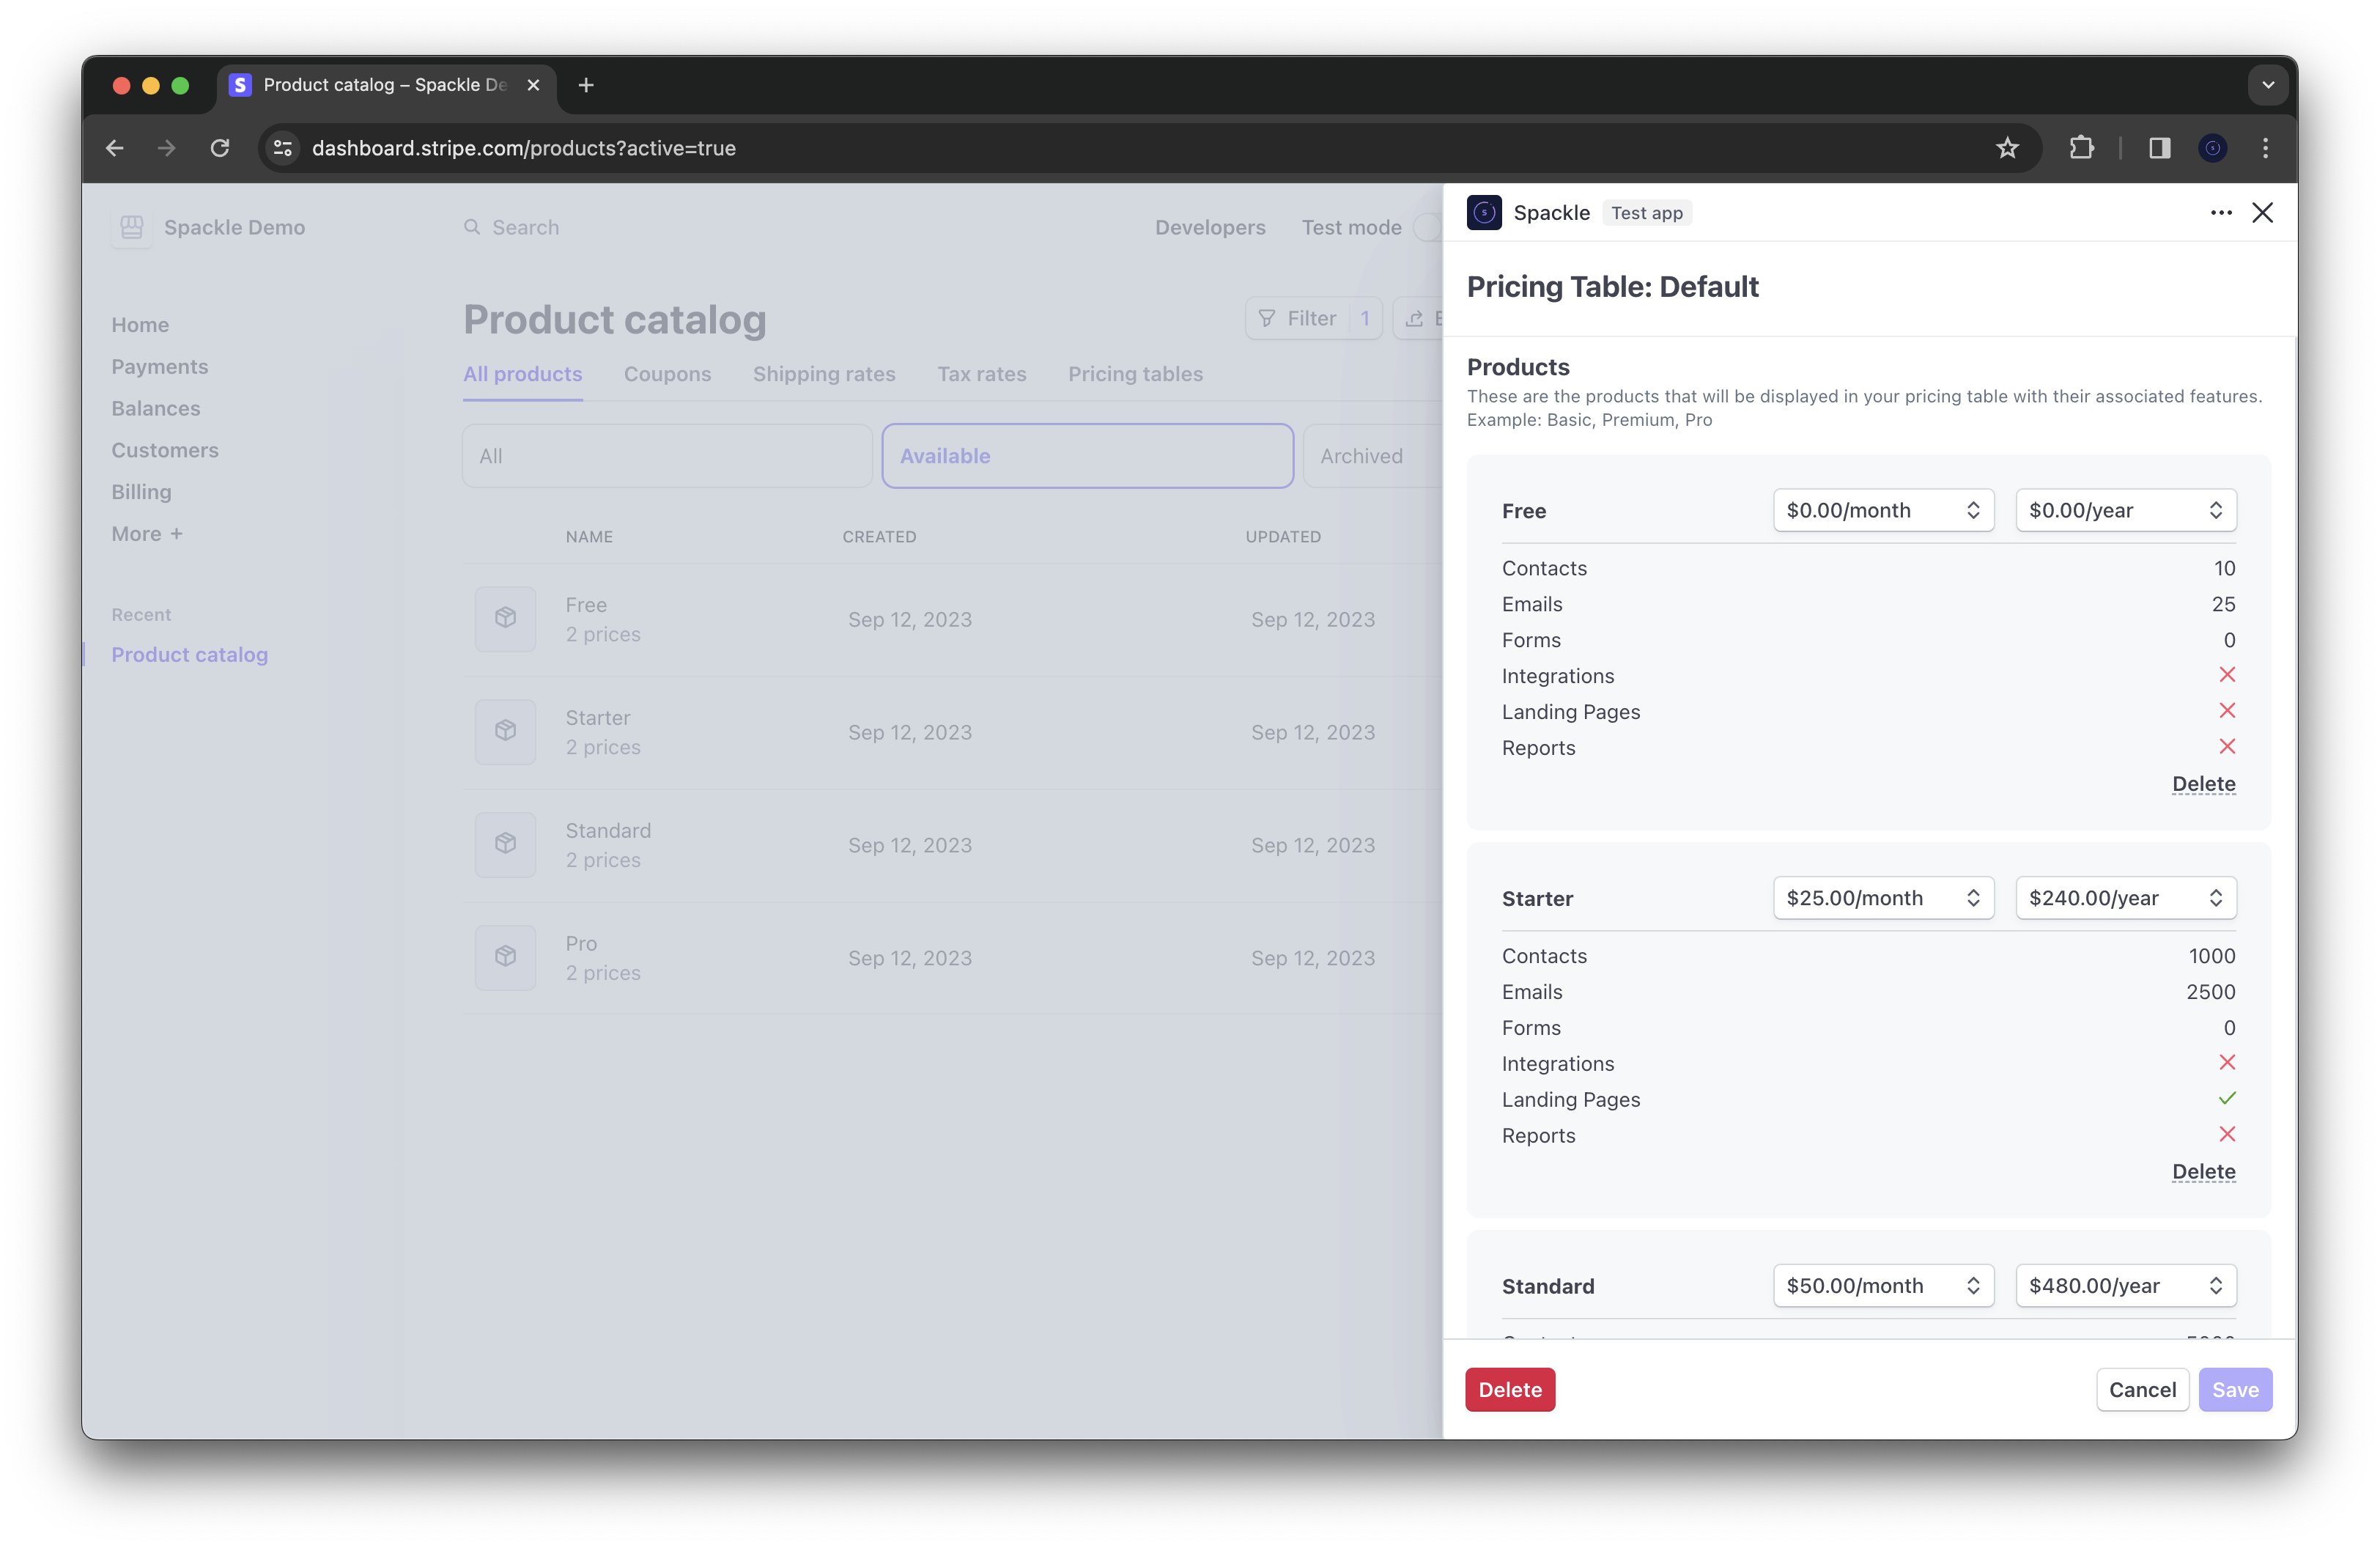
Integrate with your product
Embed your pricing table
Once you've configured your pricing table, you can embed it in your application. First, retrieve your public key from the "Settings" tab of your Spackle viewport.
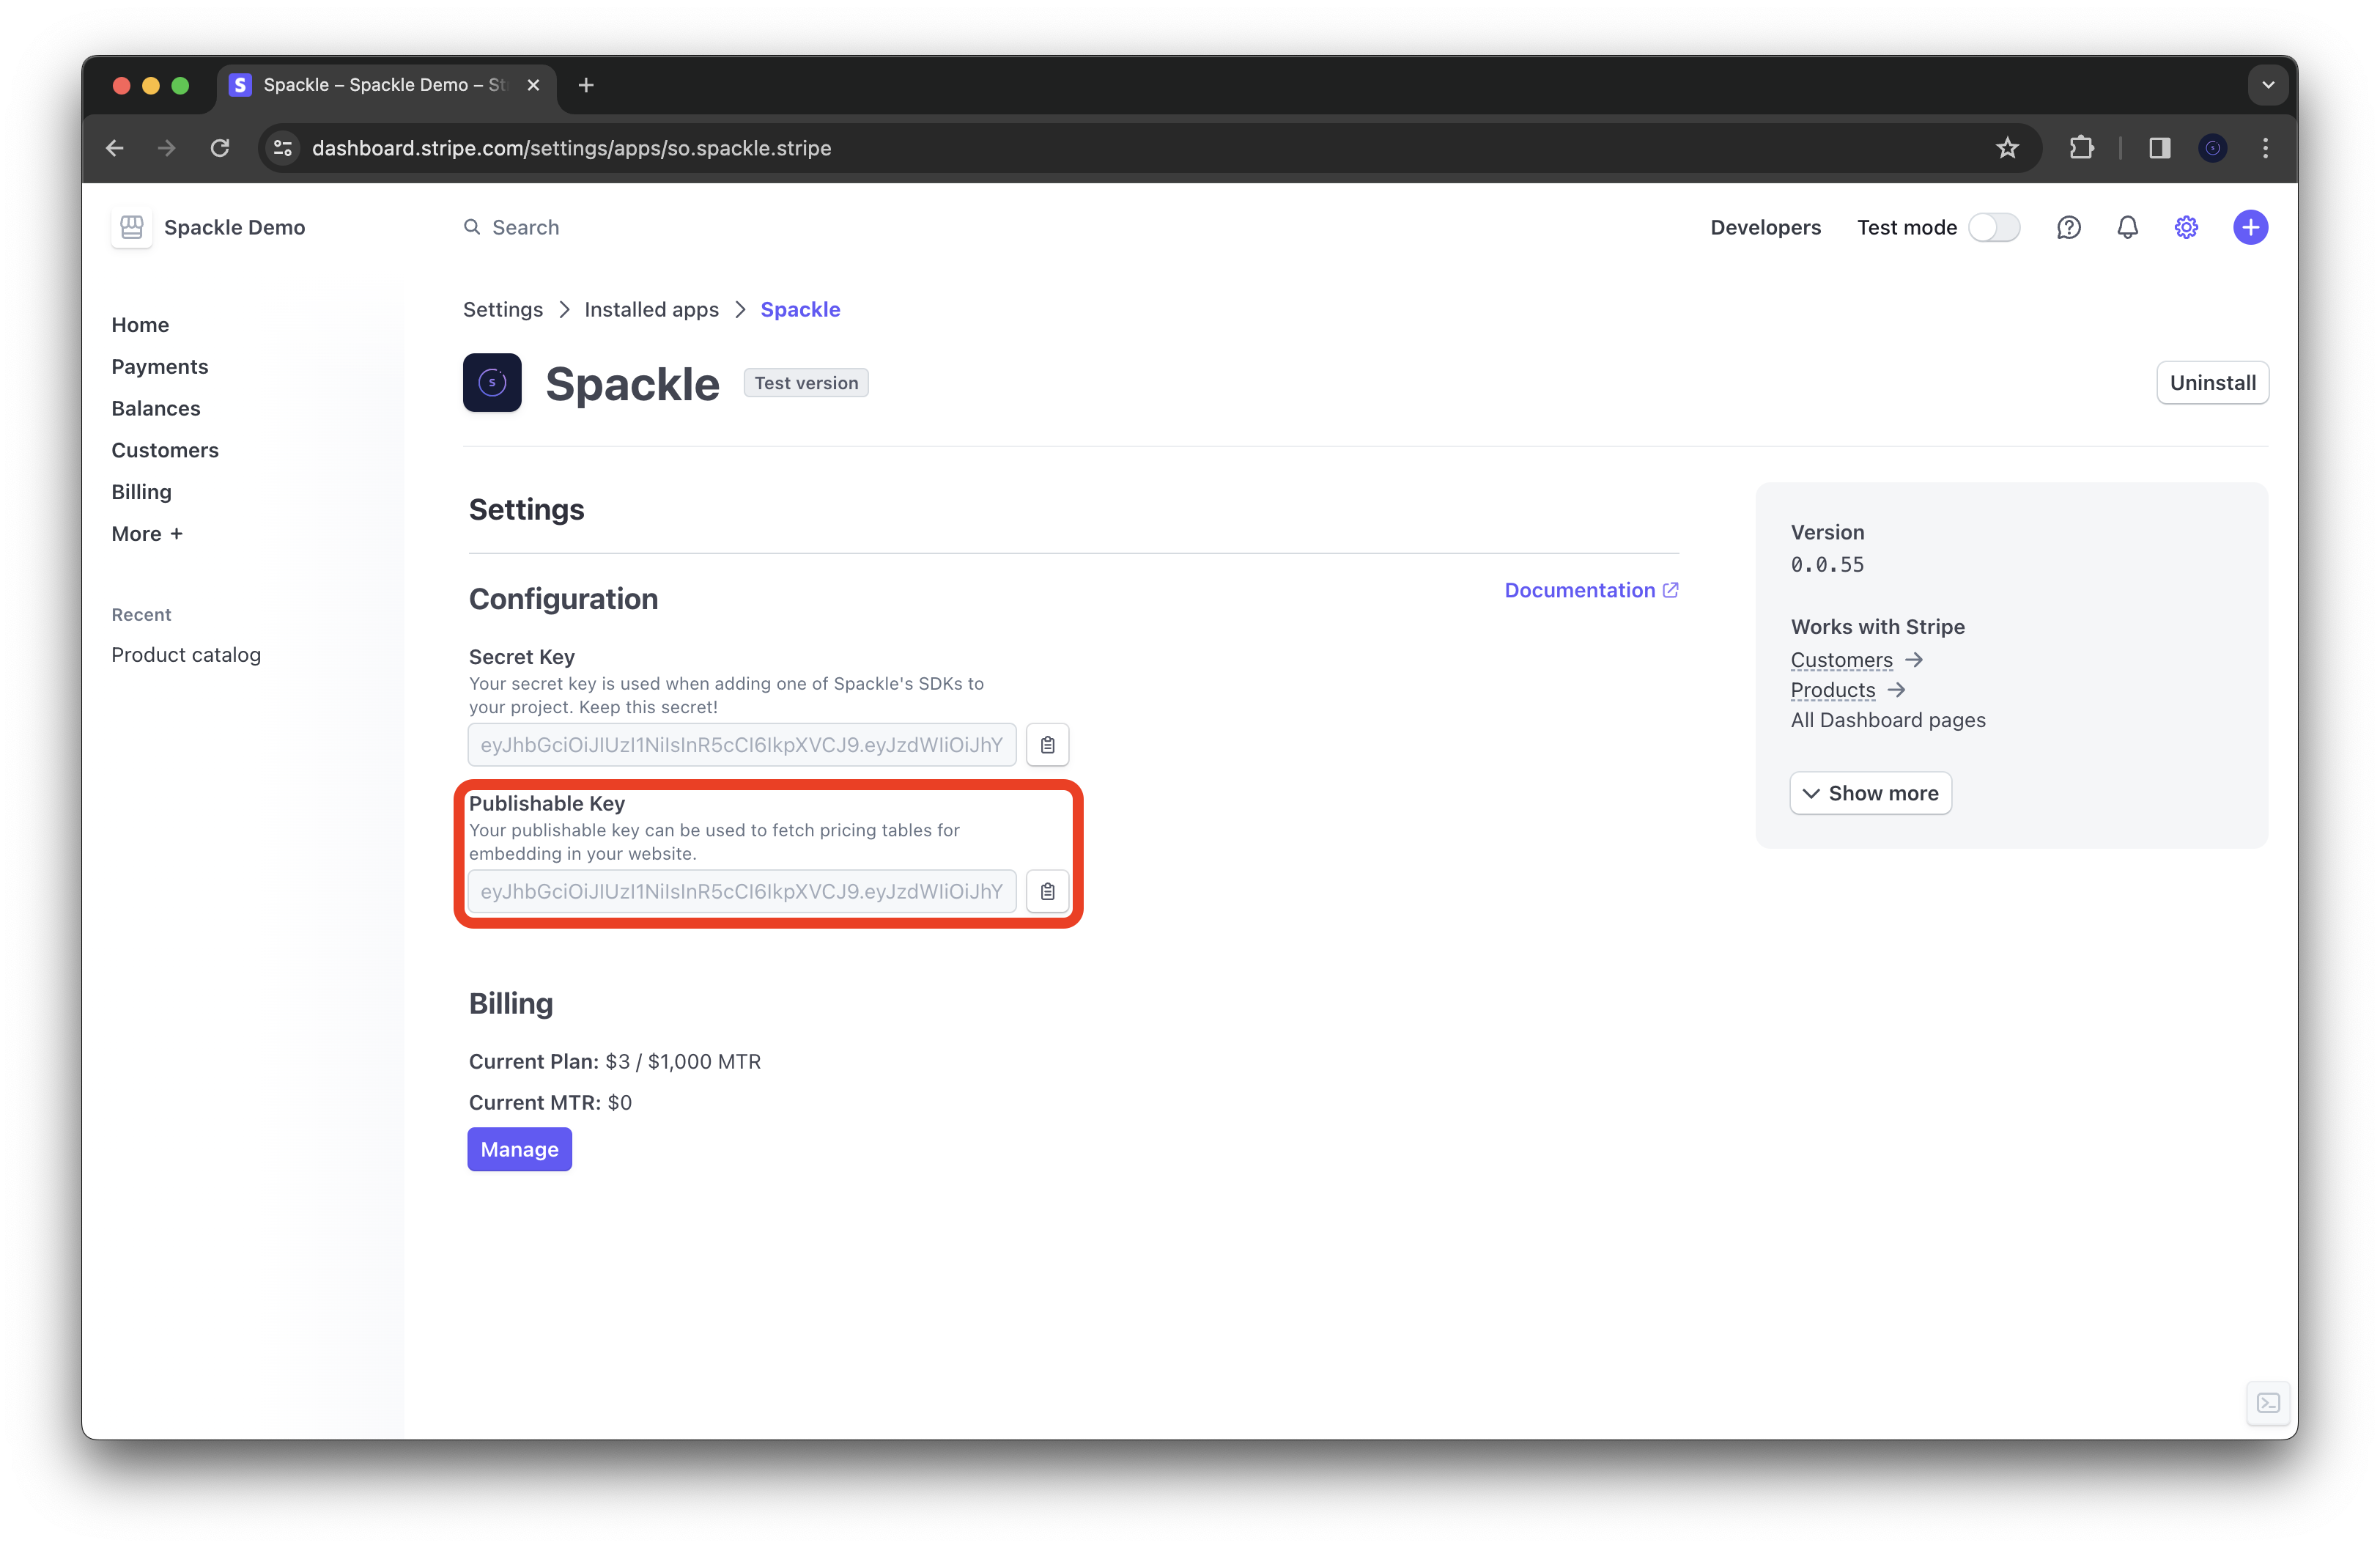
Then, add the following script tag to your application. Be sure to replace <key> with your public key and <id> with your pricing table id.
fetch('https://api.spackle.so/v1/pricing_tables/<id>', {
    headers: {
        Authorization: 'Bearer <key>',
    }
})
The data returned from the pricing table looks like this:
{
  id: string
  name: string
  intervals: string[]
  products: {
    id: string
    name: string
    description: string
    features: {
      id: string
      name: string
      key: string
      type: number
      value_flag: boolean
      value_limit: number | null
    }[]
    prices: {
      month?: {
        id: string
        unit_amount: number
        currency: string
      }
      year?: {
        id: string
        unit_amount: number
        currency: string
      }
    }
  }[]
}
Server integration
To integrate with your server codebase, check out the language specific libraries below. Pricing tables are meant to be headless. So depending on your stack, you'll fetch data from the Spackle API and render the pricing table in your application.