Introduction
Getting started
Learn how to get Spackle set up in your project
Create your features
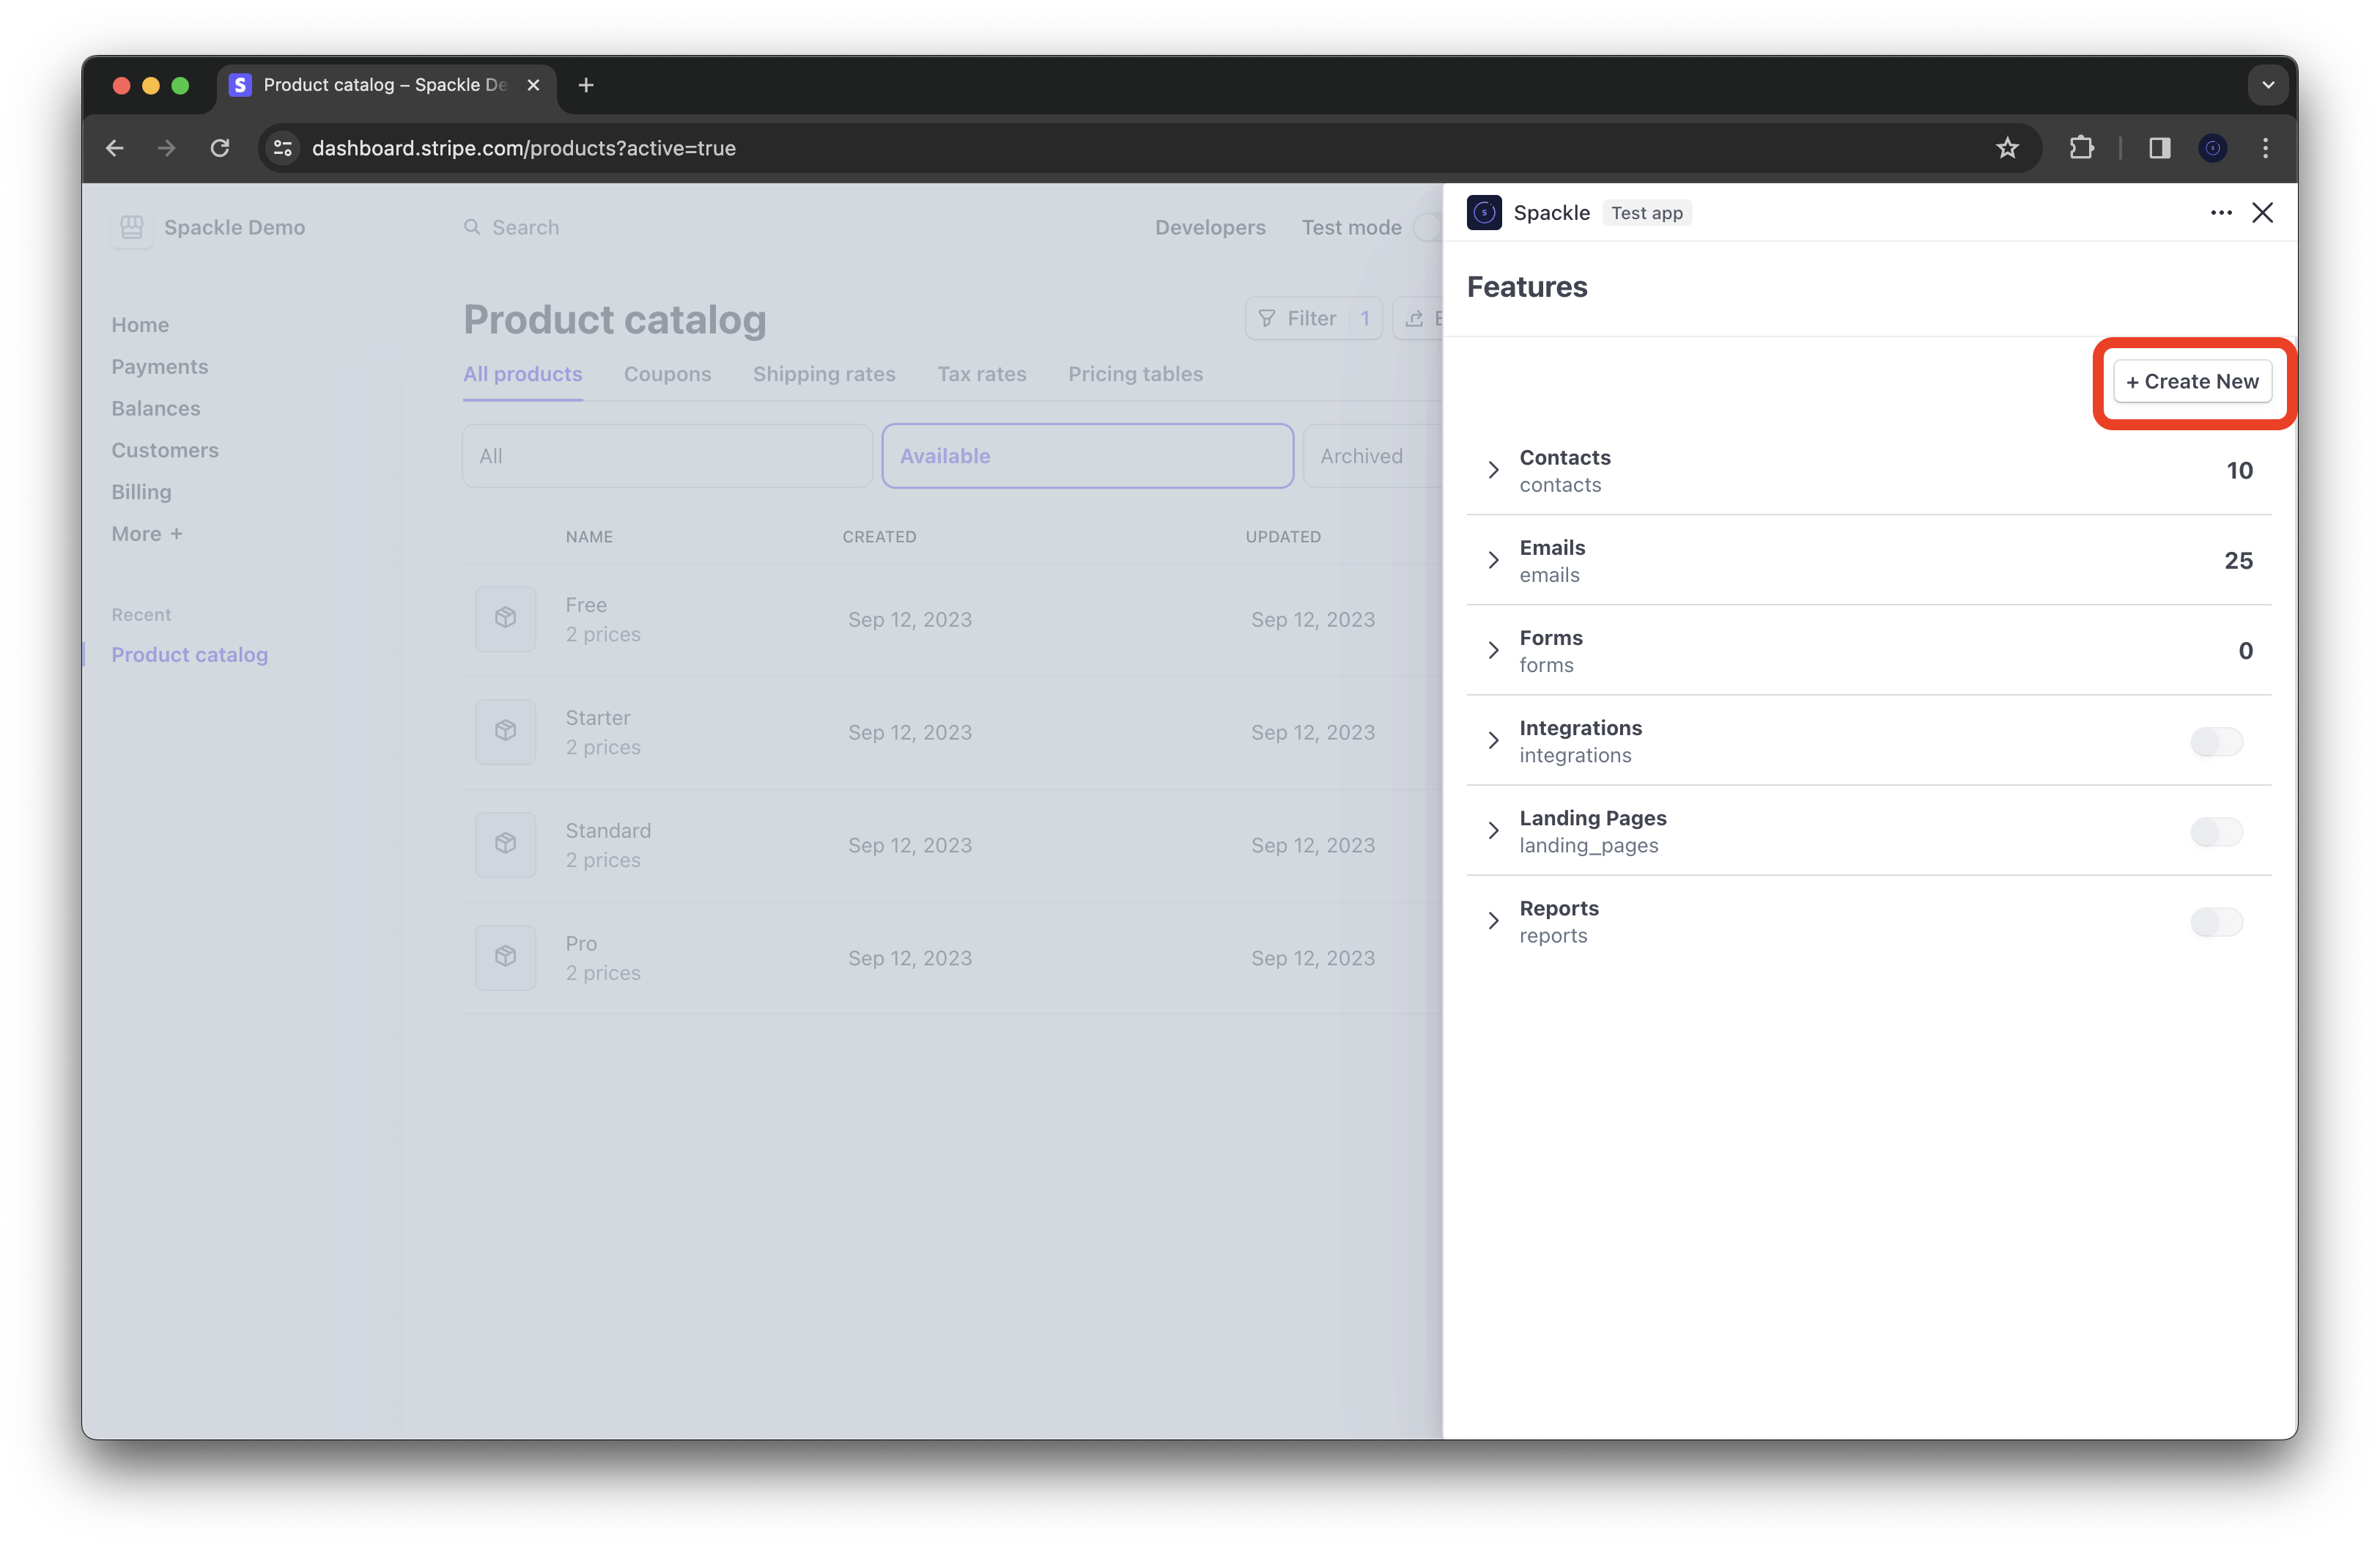
After you set up the Stripe app, click "Manage Features" at the top of the Spackle viewport.

Then click "Create New" to create a new feature.
There are two types of features in Spackle:
Flagsare used for toggling access to a feature based on the customer's subscription. For example, a "Pro" version of a CRM platform might have an "Email Templates" feature that is only enabled while the customer is in good standing with the CRM. "Email Templates" would be a good example of a Flag.Limitsare usage based ceilings that can vary based on the customer's subscription. For example, a "Pro" version of a CRM platform might have a "Number of Subscribers" limit that varies based on the customer's plan.
Defaults Matter
When creating features, the values you select for "Flag" or "Limit" will be set across all of your customers. For this reason, it makes sense to make these defaults the most restrictive. The recommended value for flags is false and the recommended value for limits is 0.
Use your features
Features are the building blocks of your pricing model. Once you've set up your features, you can integrate them into your product via pricing tables and entitlements.
Pricing Tables
Use Spackle's headless pricing tables to dynamically manage your pricing structure.
Entitlements
Extend the library with third-party plugins or write your own.